Monday, October 28, 2013

The End Is In Sight! (Interior-Wise)

We are so close to being done the inside, and I am so excited that I'm wriggling in my seat as I type the words!

A series of small but much appreciated events have taken place over the last handful of days. It started with the stove top being all hooked up. It was a beautiful thing, making my first big batch of pea soup on our stove top. Finally being able to make use of that space, and not having to pull out and set up three different things just for some flames was fantastic! Making pancakes on Saturday morning was even better!!! (I love pancakes way too much.) 


Also, Dan added another shelf under the kitchen counters and voila! The final wire shelf in the great room was gone!! That was another wonderful thing to come home to. He also created a ladder, based on designs we talked out. It looked great in place, but I sort of......broke it...while trying to use it. I fell, many things fell, and the bunny just about died. :/ It took several minutes of soothing tones and petting to convince her that the sky was not, in fact, falling. Needless to say, we will be going back to the drawing board on that one!


Ladder prototype 1

The only major interior thing still hanging over us was the built in for the great room. I have mentioned in a few posts that we had it planned out already, but theory and execution don't always match. haha We were a little wary after putting together the bookshelf, but that, we soon learned, was a whole different beast with many little details to manage. Combining new, clean cut wood with super old rough edge wood takes a lot of patience, ingenuity, and skills with power tools. That was not the case this time around.


Concept sketch.

Sunday started out looking like a lackluster day, from a productivity stand point.  I'm quite sure I've mentioned it in the last seven posts, but we are pooped! -And running low on git-er-done juice.  We started off by sleeping in, then some lazing around, and then we went to the gym. I think getting the blood flowing through our muscles and a nice hot shower gave us a little more spring in our step. We looked at each other and decided. Yep, it was noon, but we were headed to the store to get the materials. 


Cleaned out! Ready for work.

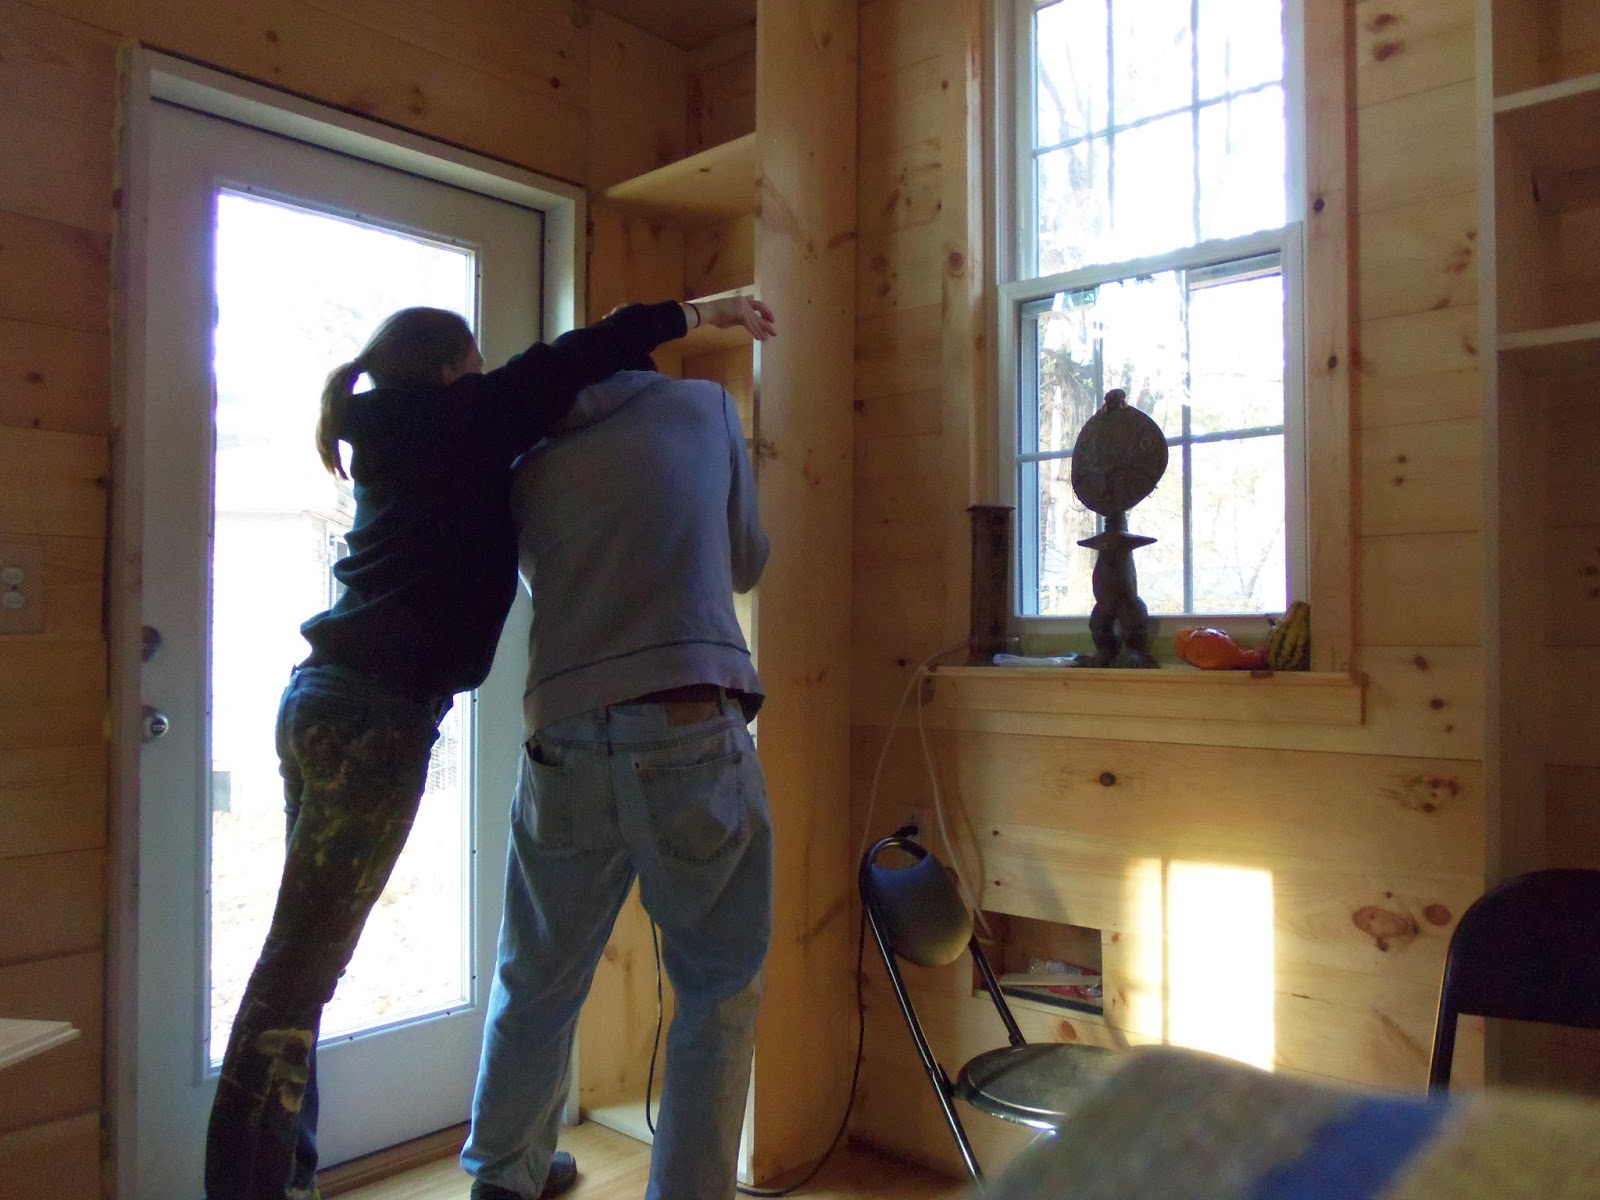
We picked up several 1x12 boards and a sheet of finish plywood to get the basics of the built-in started. Since we have both had plenty of time to think about this built-in, we were very well prepared and knew exactly what to do. Dream Team, Jess and Dan, were ON POINT! We made the measurement, the cuts, and then the marks for shelves. We then pre-drilled the holes for the shelves.  


Pre-drilling

After the experience with the bookcase- where each shelf had to have it's own "line" so to speak (the shelves are technically not level, but they are "eyeball level" to match the windows of the door behind it), every cut was unique, and then securing the shelves without leaving exposed nails/screws was a nightmare.  Soooooo, for this built in, we made the greatest decision ever: assemble outside, then put in place. BRILLIANT! 


It was such a smooth process!!

Once all the wood was cut, marked, and pre-drilled - we put the two columns together. Each one went together flawlessly. The pre-drilled holes guided the screws perfectly straight, and into the shelf every time. Not even an hour after returning home with the materials, we had two units ready to be installed!


Goofin' :)

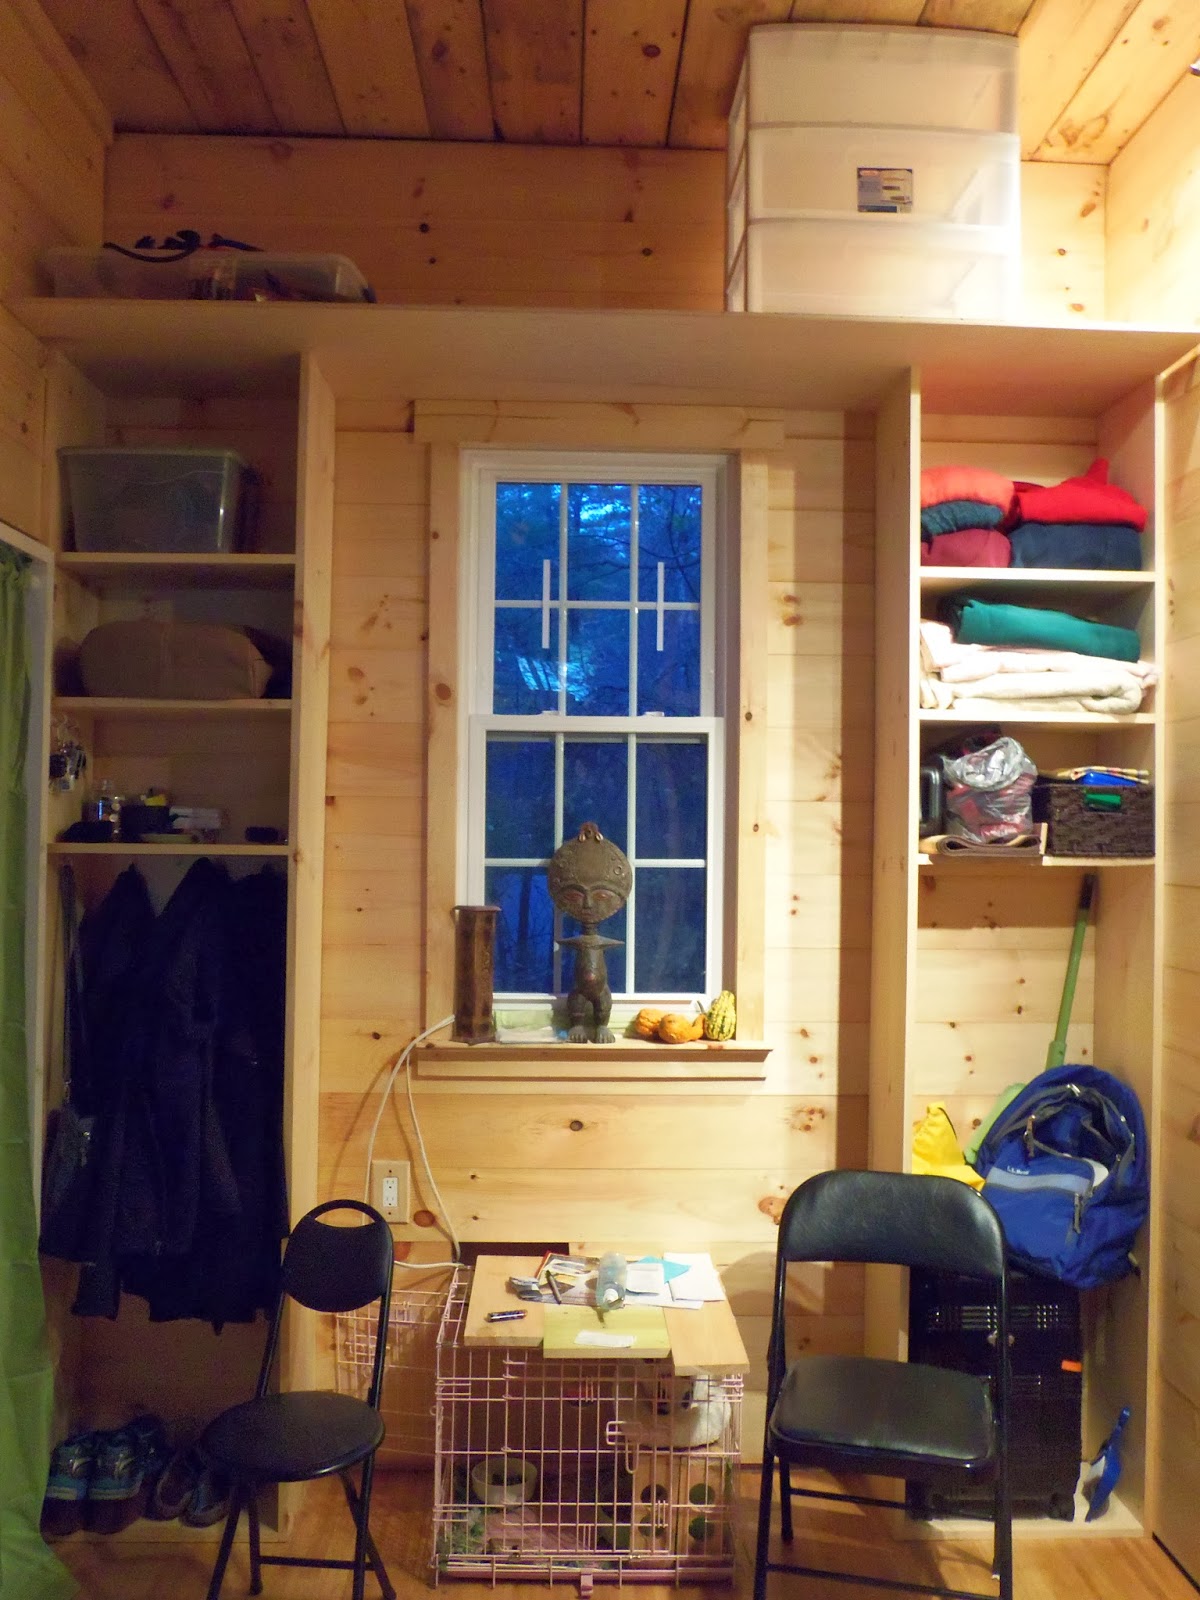
After both columns were secured, we placed the plywood piece on top. (We had the associate at the big box store use the massive saw and cut our plywood piece for us! BONUS) After everything was secured with screws, we stood back and marveled at our built in. We skipped around with glee, picking up items that still sat in cluttered piles here and there. As each item found a new home, our space began to open up once again. 


Unit one is inside!

We aren't done with the built in, however. The large cubby on the right will be getting a door. And in the center below the window, there will be a small built in love seat/ couch which will transform into a little dining space for two. This design will also account for Wendy's pen, which will slide right in there, out of the way, when it's a love seat. When we want it to be a table, she will have to hang out somewhere else temporarily. I'm not even sure you can picture this as you read, but don't you worry! We will have that made soon enough and you'll see!

Thanks for reading!
Like Us On Facebook


Securing it to the walls.

Adding the top shelf. 


YAY!

It's going to look a lot neater than this....doors will help with that!


Wednesday, October 23, 2013

We Have A Stove Top!

Cooking in the kitchen is a go!

I'm trying a new tactic to get better with my blog habits. Even if I've only got one or two things to share- I'M DOING IT! Last night, after a very uncomfortable ear flushing session (after which I was given yet another prescription- C'monnnnn!) I arrived home to a very wonderful surprise.

Dan had prepped, tested, and successfully completed the installation of our gas cooktop. We got the cook top from an RV store. When looking for tiny house appliances, I highly recommend seeking out an RV supplier since many of the concepts go along the same vein- small, mobile spaces. Although these appliances are intended to hook up to an RV's propane supply contraption (which isn't a direct line to a tank) they can easily be modified for a tiny house set up. The biggest thing to make sure of is that there is a regulator on your appliance and a regulator on your tank...and the proper size hose and fittings of course. Fun fact: I read an article from a guy who successfully hooked up a full size stove/oven to a 20lb tank of propane! He was able to have the oven and all four burners going no problem. Ours will be certainly work just fine then.


After speaking with a rep, I confirmed that our cooktop has it's own built in regulator, most quality appliances will. So we just needed a tank of fuel, a regulator to fit that, and hose. All easily located at the big box store. Now, instead of digging out our little single burner camping stove and placing large pots on such a precarious perch- I can just walk on in to the kitchen, light a match and turn a nob. They did have built in ignition cooktops, but the model we wanted didn't have ignites. After reading some reviews which stated that the igniting piece broke and they resorted to matches- I didn't feel like we missed much. 


Dan drilled a hole to the outside for the hose, right below the cabinets in the kitchen corner. We put the stove where it is so the hose would have a very short run before exiting the wall. The little 20lb tank sits right outside our tiny house. 

On another note- you might not be able to really see the temperature on the thermometer in that window, but it read 36 degrees outside and 66 degrees inside. (The loft directly above is always a cozy 5-10 degrees warmer too!) That's all with just the little ceramic eco-heater and some bodies. Wow!

Thanks for reading!
Like Us On Facebook


Tuesday, October 22, 2013

Inching Along

Look at how nice and clean it looks with doors!
So many little details!

Hello readers! Well I'm back to being a slacker and posting once a week. :/ Well, that's not entirely true, I guess. I certainly haven't been slacking in any other sense. Now that we live in the tiny house, everything that still needs to be done stares us in the face from the moment we get home...and dare to sit down. It's certainly motivating- from that OCD-I-need-order-now! point of view, but it can wear you down too. I'm no stranger to having many pots on the fire...but right now, I feel like it's just this one huge unruly TANK on the fire, and I can't wait to get on with just living in the place! (And returning to my usual hobbies)


Putting in the pinch latches.

Over the last week we have worked on a variety of things from the closet and cabinet doors to more shelving (and color!) in the kitchen and bathroom. Dan has been home the last week or so and is putting a lot of effort into getting the inside finished, but he stinks at remembering to take pictures! So we don't have a ton to share this time around, but I'll share what we've got!

With every door we put in place, the interior really began to take that final form we have been dreaming about for over a year. Being a neat freak, it was especially pleasing to me to see all of those storage areas closed off and hidden away. I doubt Wendy-buns is very happy about that, but I'm sure she will find another way to be a mischievous little thing. Now the only things left from a cabinet/storage perspective are an additional shelf under the kitchen counter, and a set of three drawers. As I mentioned before, cabinetry is certainly a new area for both of us and we have learned a lot- through trial and error. If we do this again, I will definitely devote more time and planning to the counters. There is already quite the list of "things we would do differently" when it comes to the kitchen cabinets, but we try not to spend too much time in "Should Have" World, since it's just a sure fire way to frustrate yourself and lose sight of what matters most. 


Supervisor Bun-buns- "Do as I say,
not as I do, Dad!"

So instead of focusing on things that we could have done better, we have made efforts to focus on what brings us the most satisfaction and joy...and for me, choosing a decor/color scheme is high up there. I LOVE color. Ask anyone who knows me well and they will back this trait 100%. I avoid black, white, and gray like the plague. My uncle once described me as a rainbow. I'm sure sitting next to my cousin who happened to be sporting a gray sweater and black pants (love you LB!) made me stick out a liiiiiittle more. ;)

I love bright happy, inspiring colors, and with so much pine all throughout, having a few splashes of intense color is going to look great. We had already chosen a nice green to be the accent color, but in true Jess fashion, I changed my mind and added MORE colors. I decided to work from a favorite and cherished gift from my parents. I have a great deal of Swedish blood and I love the simplicity and quality put into Scandinavian goods. A little store where I grew up sells a lot of Swedish goods, and I'm always asking for presents or certificates to this place. I love just about everything in there! One year I received this dish towel (which I treat more as art- I will never dirty it!) that I love love love. I decided to use this towel as my inspiration for colors. 


Pre-drilling to put on the knobs. I'm a knob and forgot
to take a picture of them all in place! Next time!

I got a bright happy yellow (I always use yellow and green wherever I'm living)  and a nice blue based on the towel. I am thinking I will probably throw in a few splashes of classic Swedish red as well, but that will have to be pretty minimal since red is quite intense. I cut and built some basic shelving for the kitchen and painted them all yellow. I also didn't like how dark the bathroom is with the dark brown stain of the door sucking up what little light that does manage to filter in there. So I said, "What the heck! I'll paint that door yellow too." It's going to take several coats, but even with just the first two or three I noticed a marked difference in the amount of light reflected, and the space also seems a little bigger too. 


Color inspiration :)
Yellow in the bathroom.

We put up the shelves in the kitchen and that immediately brought a smile to my face. It adds another layer of cozy to that area and the yellow adds a splash of happiness and fun. Not to mention, with these little shelves being used for the most common dishes, it frees up more space down below for food storage. As of now, the pile in the great room is down to basically pantry goods. I'm still figuring out where all these things will go, but obviously, it would be great if food lived in the kitchen. 


What's next on the list? Hooking up the propane to the gas cook top, waxing and buffing the counters to get a nice shine, building the unit in the great room that will house our loveseat/dining set up, and then.....we will probably take a break for a while. haha We are both feeling a little worn out and jaded at this point, so we know a break is needed. BALANCE IS KEY!


But don't you worry, even when we are "on break" there will still be plenty to check out and read! We have already discussed doing a series How-We-Did-It posts, to provide better details and also tips we have learned along the way for any future builders out there! I am a big proponent of simply sharing the information. I would love to see more people doing what we have done, and the biggest obstacle, most of the time, is just learning how. It's so easy to get overwhelmed and think that you are not capable, but you are! You can! Look at us- we are by no means professional builders or architects, but here we are sharing our experiences and our nearly finished tiny house! We are so grateful for all of those folks out there that openly shared how they accomplished things versus trying to sell it to you somehow. I feel that for a lot of people, the simple lack of information is the first road block that many never get past. Knowledge is power; knowledge is confidence...and we want to share that with you! From the very start, one of our goals was to become contributors to this movement and inspire others to take that first step. If you really want to do this, trust me, YOU CAN. 


Thanks for reading!
Like Us On Facebook


I pre-drilled to a certain depth so that we could sink the screws in:
A) so we didn't need to use ridiculously long screws,
B) so we didn't risk splitting the wood, and
C) so it looks nicer. :)

Yay! Happy yellow shelves! :)


Wednesday, October 16, 2013

Columbus Day Weekend

I'm so spent I couldn't even come up with a playful title for this post.

That's pretty sad. haha I'm currently in Georgia, nursing a head cold with steady intervals between sweating profusely and teeth chattering shivers, but I couldn't wait another day to share our progress! Given the cold and lack of brain power, it will be a "children's literature" style post. Minimal writing, LOTS of pictures.


Almost there!

Over the three day weekend we continued to work on the interior. It's getting close! We finished up the bookcase/desk area and it looks great! We ended up using just about all of the rest of that reclaimed barn wood to finish this piece. Once everything was in place, I oiled it up and WOW does that old wood look gorgeous. Deep rich red and gold tones glowed from the wood as I applied the tung oil. The wood looks much darker in general than we expected, but the colors are amazing!


We made our first tiny house pizza!!
You learn to improvise quickly... 

We also finished up the bathroom. Finally! One room all done! (Yeah, yeah- we basically live in one room- you know what I mean.) Dan put together a nice door that covers the lower front face of the bathroom bench. We used very basic knobs and those pinch style latches. Since the space is so small and we want as much room as possible when pulling out the potty for emptying- we decided not to go with hinges. We liked the idea of just popping the door off and getting it completely out of the way before any other movement goes on. And of course, another wonderful bonus: It's bunny proof now!


We gave quite a few mini tours over
the three day weekend. It was nice
to hear compliments and support for
what we are doing. :)

After we finished up the bookshelf and the bathroom, it was time to move on to creating cabinet shelves and doors. This is certainly not an area of expertise for either of us, so we went with the most simplistic design we could think of. We bought some "finish" plywood for the actual panels and continued using 1x3 pine for the borders, which we have used all throughout for trim so far. Getting the closet door lined up and opening/closing smoothly took more than one adjustment, but we got it done! 


Not a whole lotta workin' room for this guy!

It was really nice to see that door in place. It makes for one continuous line as you look down our mini hallway. Everything is starting to look a lot cleaner now, with all these finishing touches, and of course doors to hide all the stuff stacked up inside storage spaces.


Securing the terlet seat.

I also got some shelving in place for the kitchen. YAY! I was able to move the bulk of our dishes to their final home. The pile of things sitting in the great room is beginning to dwindle. I can't wait until it all has a place to go!


Bathroom bench door.


Next up, doors for the kitchen cabinets, and doors for the stair storage. Once that is done, we begin work on the love seat built in design we have planned for the end wall in the great room. It's going to look pretty sweet- if we get it right. ;)

Thanks for reading!
Like Us On Facebook


YAY! Our closet is closed in! Another area: bunny proofed!

The organization nerd in her element- creating shelves!
Hooray for tidiness and order!

Look at that beautiful thang!!


Thursday, October 10, 2013

Don't Get Too Comfy!

Beginning of the bookcase/desk.
We are settling in to the tiny life...but we can't relax just yet.

One aspect that I have thought about a lot, lived through once already, and heard several times over from others who are following our journey is that moving into the place before it is complete can make it a challenge just to finish.  We've spent so much time relentlessly busting our butts on this place, and now that it is finally to the point where we can sit down inside and be comfortable, that's all we want to do! haha


Desk area complete!


But there is still much to be done before we can consider the house complete...and the OCD one of the bunch (ahem...give you one guess) will not let this project slide too much further off track. Why, you ask? Well, for someone who has been a compulsive cleaner and organizer since before I could even pronounce the word organize- it is almost physically painful to me each time I walk in the door and see the bulk of our things still piled up on wire racks in the corner. Not really my idea of a "focal point" for the room. I'm all about Zen and feng shui when it comes to my own space. Seeing a big old mess is like a radar scrambler to my brain. I can't even think straight. When I was a child, I could not move on with one other thing in my day until I made my bed. I even tried to not make my bed one day...didn't go well. I just froze and kept staring at my bed until I finally gave in and made it. Yes, I know. I have problems.


ANYWHO- over the week so far, we have done little piece meal things here and there. It's been difficult with busy schedules already, a lingering cold, and then also working in the new aspects of our tiny life...like showering at the gym or at work. Those require a little more time and planning ahead then just strolling into your bathroom and cranking the faucet on.

So far, though, I don't regret a thing. I love it! (I'm pretty sure Dan does too, but I won't speak for him ;) haha) Sure, I miss my apartment for fleeting moments...but I think I mostly miss my couch! Right now we just have two folding chairs to sit on...or we can climb up in the loft and hang out in bed. With little Wendy-buns running around, I can't really go up there. The minute she sees me make my way up to the loft, she bolts to one of her three favorite places...all of which I have made clear in several ways that she is not allowed. So, naturally, it's her favorite place ever. 


Relaxin'

I'm such a push over that I feel too guilty putting her in her crate so that I can enjoy a soft cushiony seat. She's in there all day when we are gone! I'd feel like such a jerk continuing to leave her in there while I am home. So, instead I sit on the hard folding chair, dreaming about the day we finally have the built in love seat in place, as I watch little bun-buns scamper around with glee. She has really settled in and loves the house too. She gave her flop of approval on the second day!


Making some tea!


I've realized over the last couple days that what we are doing feels a lot like camping right now. As I stood over our little single burner making soup and then some hot tea, I smiled and thought back on all the camping my family did when we lived in Alaska. Every single weekend through the summer, we would make the 2 hour drive to Hatcher Pass, a mountainous area filled with miles and miles of winding dirt roads, used mostly for logging and back in the day- mining for gold! When we used to visit, the roads were lined with little turn offs every couple of miles. This was not the type of camping ground with a little arched entrance and some kid in a brown uniform making you fill out the sign in sheet. You went out there on your own, and that's exactly how it stayed. 

I loved every minute of it. So having little things in my every day life (like hauling and heating water for cooking and dishes) that trigger such happy memories, has been a good thing. Now for any of you Fireman Fred's out there, calm down. haha I certainly know the importance of having enough air flow when using a burner like this indoors. I had two windows open and I even opened the door intermittently. Soon enough we will have our cooktop working, and this little guy will be stored away until our next big hiking trip!

Just to recap up to this point-

What we have accomplished since the last post:
More tung oil applications, especially on kitchen counters.
Progress on the bookshelf.
Make-shift kitchen set up.
Functioning bathroom.
Continued organizing and downsizing of stuff.

What we have left:
Book shelf.
Complete doors for kitchen storage.
Complete doors for stair storage.
Build great room built-in. (We finally decided on a concept for how to get it done which I will share in another post soon!)
Utility Closet
Siding!


Thanks for reading!
Like Us on Facebook


We are making the shelves out of the last of the old barn wood we have. Getting creative
and using every last bit! I love it!

After about the fifth coat of tung oil that I applied with a rag, I said screw it.
The wood is still thirsty so I'm gonna give it a GOOD DRINK.
I poured oil on and gently spread it with a brush, much less labor intensive too!
Probably another 2 coats like that, and the counter will be ready!